Concrete Polishing 101: Steps, Tools & Best Practices
- Amee Curtis

- Aug 20, 2025
- 2 min read

Polished concrete is sleek, strong, and seriously in demand. From big-box stores to boutique retail and breweries, clients love its durability, shine, and low maintenance.
But as any contractor knows—polishing is a process, and shortcuts = swirl marks, uneven gloss, or failed densification.
If you're adding polishing to your services or want a quick refresher, this guide covers the key steps, tools, and pro techniques for a smooth, consistent finish every time.
Step-by-Step Concrete Polishing Process
1. Prep the Surface
Polishing doesn’t hide anything—it highlights everything. Start with:
Diamond grinding (metal bond tools, 30–70 grit)
Crack repair and joint fill (use a polishable filler like Metzger McGuire)
Surface cleaning and vacuuming
⚠️ Do not polish over sealers, coatings, or contaminants. If it’s been sealed or painted, remove it entirely.
2. Grind in Stages
Progressively work your way up the grit ladder. Typical progression:
Step | Grit Range | Bond Type |
1 | 30/40 | Metal |
2 | 70/80 | Metal |
3 | 100/120 | Transition |
4 | 200–400 | Resin |
5 | 800+ (Optional) | Resin |
🧠 Match your bond to the concrete hardness: soft bond for hard concrete, hard bond for soft.
3. Densify
Apply a lithium- or sodium-based densifier after your transition pass (usually after 100–120 grit).
Use a sprayer or mop applicator
Let it soak and react per manufacturer guidelines
Burnish or buff if required
Why it matters: Densifiers harden the surface, making it more scratch-resistant, stain-resistant, and glossy.
4. Final Polishing
Resin pads bring out the shine. Go as high as your client needs:
400 grit = matte/satin
800 grit = semi-gloss
1500+ grit = high-gloss/mirror finish
Add stain guard or polish protector for high-traffic environments.
Recommended Tools for Contractors
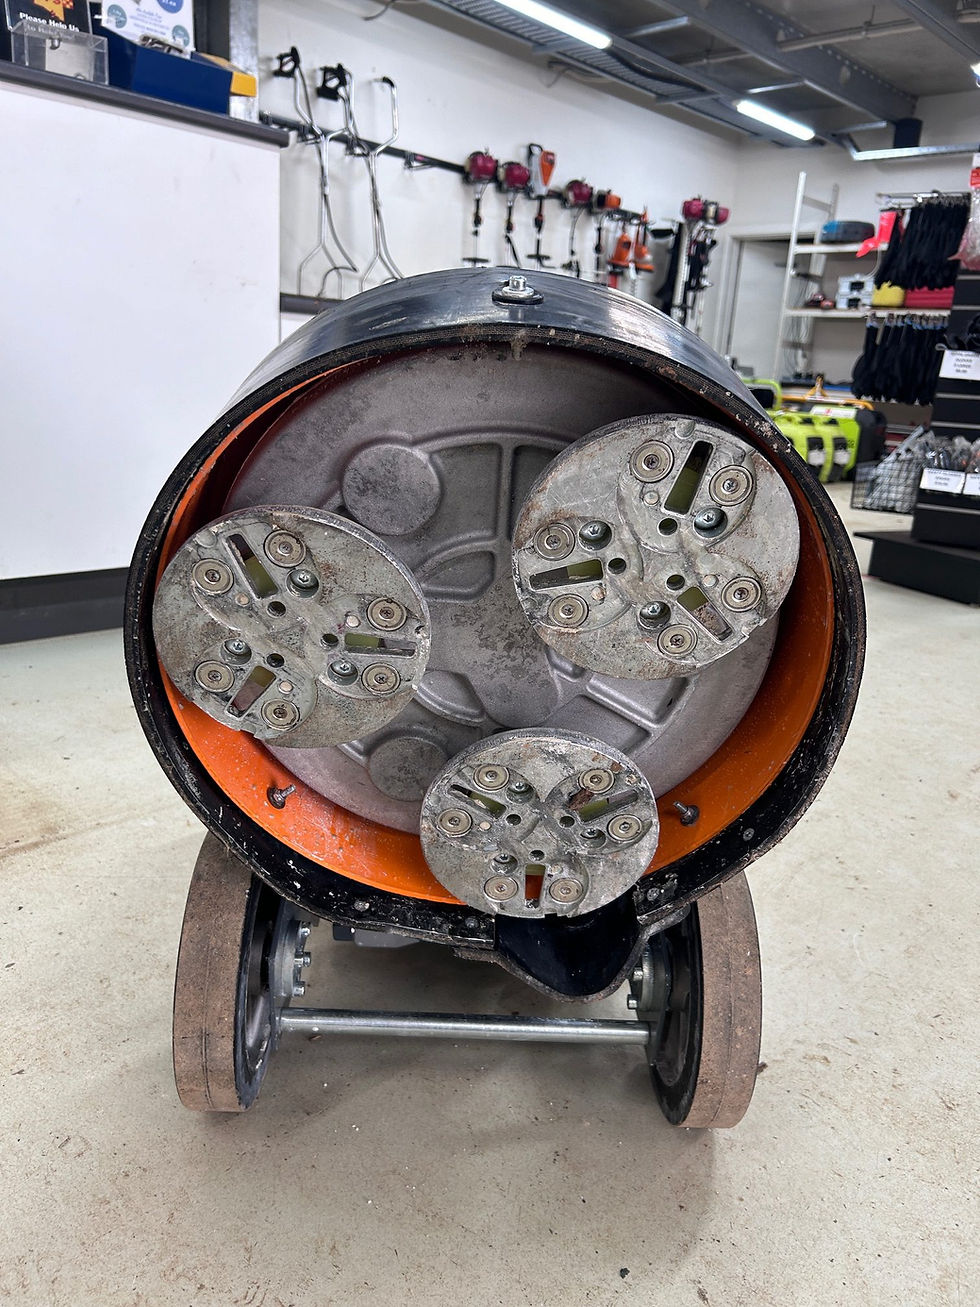
Grinders: Husqvarna PG 450 / PG 680 depending on project size
Dust Extractors: High-CFM vacuums with pre-separators
Tooling: Metal and resin bond diamond pads, transition tools
Application Gear: Densifiers, guards, sprayers, microfiber pads
🎯 We carry it all—and can help you bundle equipment + chemicals for your exact system.
Pro Tips for a Better Finish
Keep tooling clean and sharp—clogged diamonds ruin finish quality.
Vacuum between every pass—leftover grit = scratches.
Control water if wet polishing—too much = slurry mess.
Watch your RPM—slow and steady wins the gloss.
Lighting matters—check for missed spots from multiple angles.
Common Mistakes to Avoid
Skipping grits (don’t jump more than 2 steps)
Not applying densifier correctly or at the right time
Polishing over dust or residue
Rushing through final passes
Overheating pads (causes swirl patterns and burn marks)
Conclusion
Concrete polishing is part art, part science—and 100% worth doing right.When done properly, it delivers beautiful, durable, low-maintenance floors that wow your clients and keep your crew’s calendar full.
Whether you’re just getting started or polishing full-time, PNW ECS has the grinders, pads, densifiers, and support to help you do it better.
📍 Stop by Fife or Sandy for Concrete Polishing Supplies
We’ll walk you through the grit progression, match your pad system, and help you avoid the most common pitfalls.


Comments